Quick Summary
To protect heritage trees during clearing, mark every keeper with paint or flagging before equipment arrives, then stake a tree protection zone past the drip line and keep all machines, digging, and storage outside it. Plan access lanes, fence each zone, and check the line daily.
- Use one color to mark keepers and a different color for removal trees.
- A tree's roots reach past the drip line, so the protection zone does too.
- Stake the widest protection line, not the average, when in doubt.
- Keep every machine on marked access lanes.
- Avoid wounding or pruning oaks February through June for oak wilt.
Table of Contents
- Mark the Trees You Want to Keep Before Any Equipment Moves In
- Set a Tree Protection Zone Around Every Heritage Tree
- Protecting Tree Roots From Equipment Starts With Where You Drive
- Keep the Zones in Place Once the Build Starts
- Selective Clearing Around Trees Keeps the Canopy You Bought the Land For
- How to Protect Heritage Trees During Clearing: The Clearing-Day Checklist
- What to Do If a Tree Gets Damaged Mid-Project
- Get a Free Quote Today
- Frequently Asked Questions
Mark the Trees You Want to Keep Before Any Equipment Moves In
The first step to protect heritage trees during clearing is a walk-through with paint or flagging in hand. Mark every tree you want to keep before a machine ever enters the gate.
Walk the land and mark:
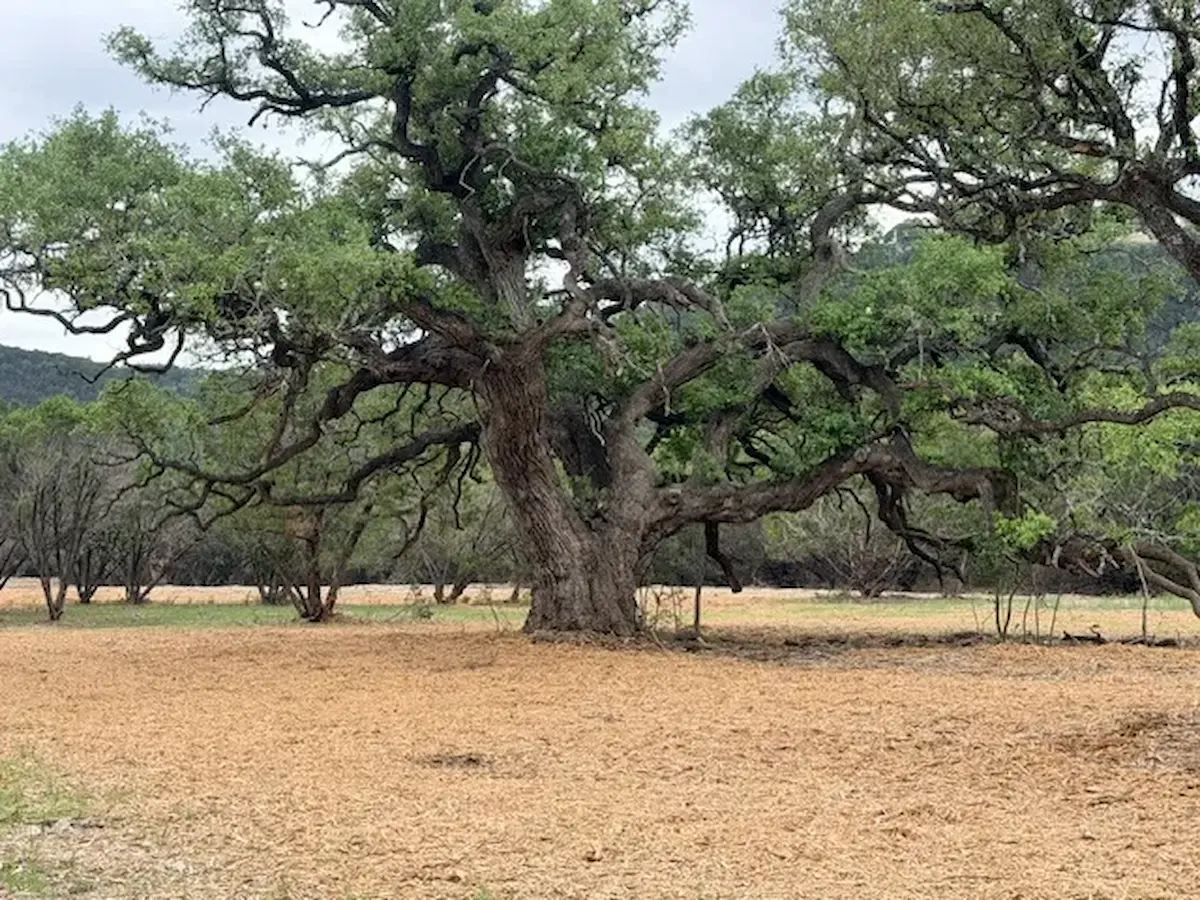
- Every mature oak on the property
- Trees near the house site, driveway, and fence lines
- Shade trees around stock tanks and barns
- Any tree with sentimental or habitat value to you
Use one color for keepers and a different color for removal. No guessing later. The mark is the plan.
Set a Tree Protection Zone Around Every Heritage Tree
A tree protection zone is the ground around a tree kept free of equipment, digging, and storage.
So stake it off. Run flagging or fencing in a wide circle around each keeper, past the drip line. Then treat that line as a wall.
- No driving inside the zone
- No piling brush, logs, or gravel on it
- No digging or trenching through it
A common mistake is fencing tight to the trunk. That protects the bark, not the roots. Give the roots room and the tree has a real chance.
How to Size the Zone Without Guessing
The drip line is the starting point, not the finish line.
A simple field method:
- Find the drip line on the four compass sides.
- Measure from the trunk to the drip line on each side.
- Use the longest measurement all the way around.
- Add a buffer on any side with wet ground, shallow soil, heavy traffic, storage, or a grade change.
When in doubt, go wider. A zone that is too big costs you a little working room. A zone that is too small costs you the tree.
Put Every Zone on Paper Too
Flagging blows down and stakes get knocked over. Put the zone on paper too. Sketch the property, draw a circle around every keeper at the staked distance, and label each one.
If a keeper sits near the house pad, driveway, or fence line, draw the zone first and route the work around it.
Protecting Tree Roots From Equipment Starts With Where You Drive
Protecting tree roots from equipment comes down to routes. Decide where machines travel before the first track hits the dirt. Pick your access lanes, mark them, and keep every operator on them.
Plan for these:
- One main entry and exit lane
- A set parking and turnaround spot away from keepers
- A marked path to the work area that skirts the protection zones
- A separate spot for material storage
On rocky, hilly ground, the easy route often runs right past the biggest oaks. Resist it. A slightly longer lane costs less than a dead heritage tree.
Keep the Zones in Place Once the Build Starts
Tree protection during construction takes the same discipline after the clearing ends. Builders, trucks, and trailers come next. The zones still need to hold.
- Leave the protection fencing up until the build is done
- Show every new crew the access lanes and storage spot
- No one moves the fencing without the owner's OK
Check the fence line each morning. A knocked-over stake means someone drove where they shouldn't. Fix it that day.
Selective Clearing Around Trees Keeps the Canopy You Bought the Land For
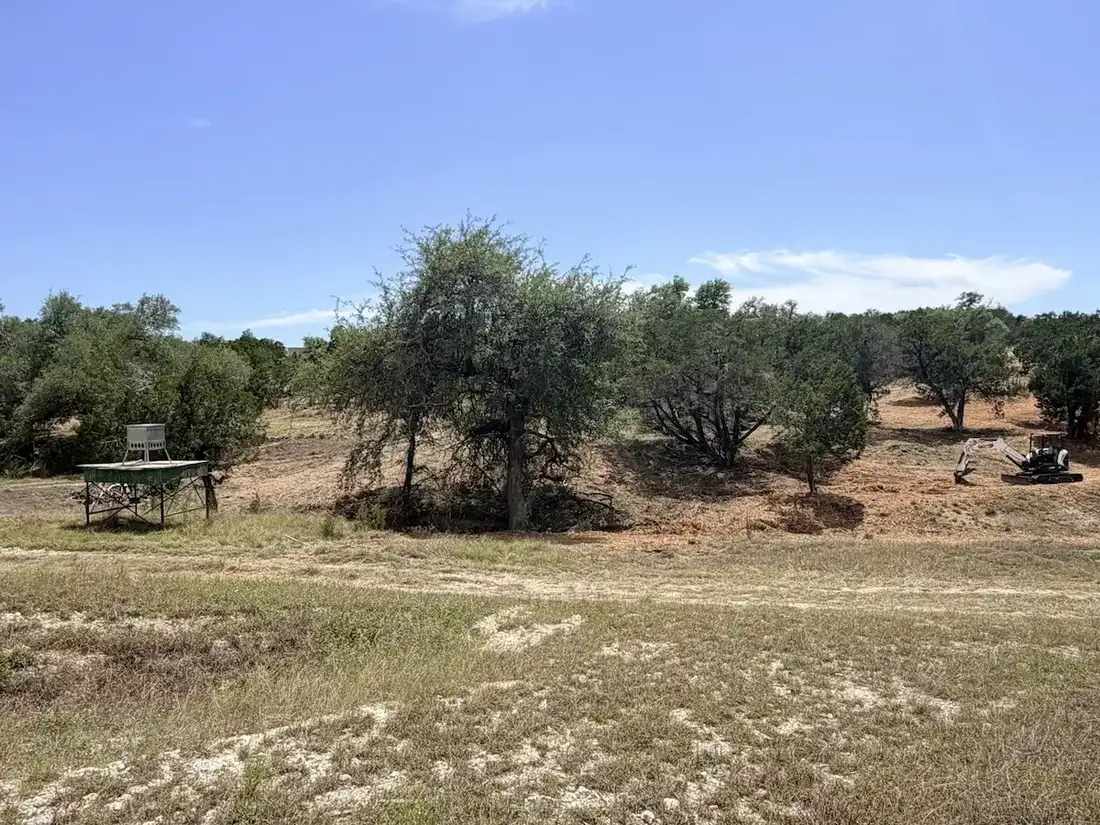
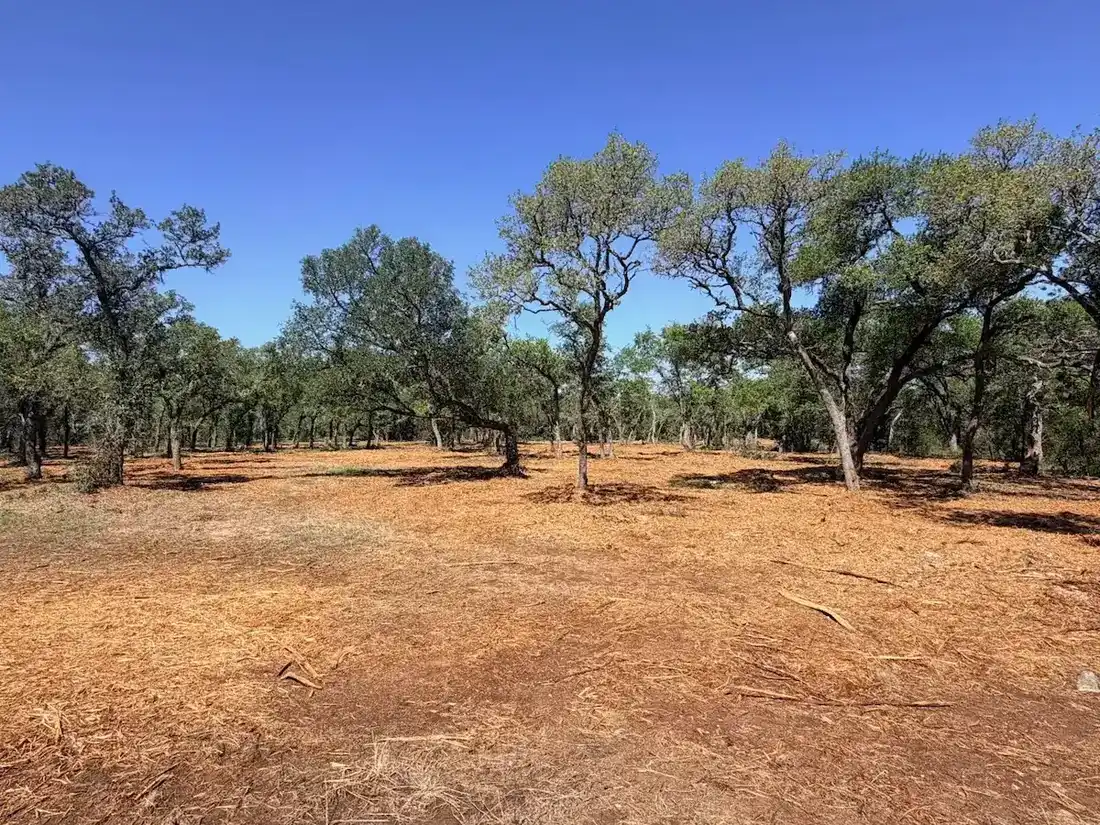
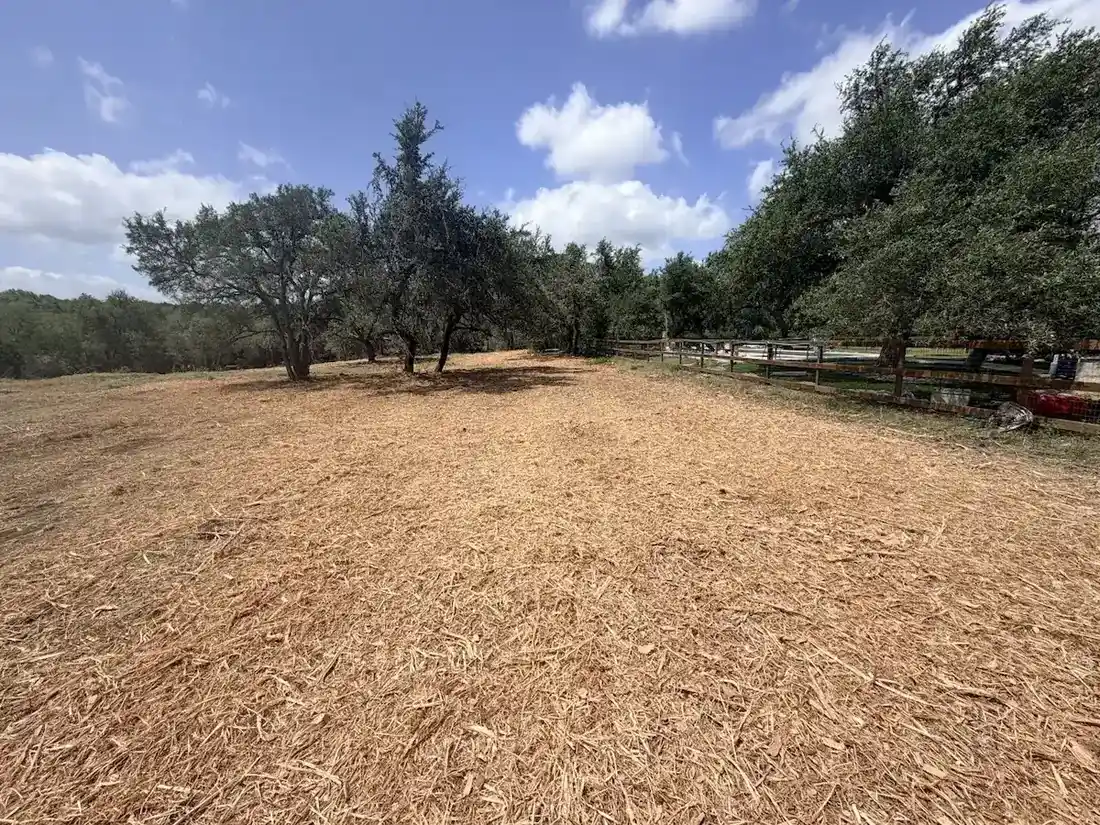
Selective clearing around trees means taking the cedar and brush and leaving the keepers standing. You get open ground, room for native grasses, and lower wildfire risk, while the oaks stay.
Cedar removal fits the same plan. Cedar (Ashe juniper) cut below the green won't resprout from the stump.
You can see how that work looks on our selective clearing page.
How to Protect Heritage Trees During Clearing: The Clearing-Day Checklist
Here is the clearing-day checklist we run, in order, to protect heritage trees once the crew arrives:
- Walk the marked trees with the operator. Confirm every keeper and every protection zone before the machine starts.
- Check the fencing. Re-stake anything loose or knocked down.
- Confirm the access lanes. Point out the entry, parking, and storage spots.
- Start on the far side. Clear the open ground away from the keepers first, then work in toward the zones.
- Keep mulch off the trunks. It stays spread on the cleared ground, never piled against bark.
- Watch the oak wilt window. We avoid wounding or pruning oaks February through June and schedule oak-adjacent work with that in mind.
- Walk the line at the end of the day. Check fencing, look for fresh tracks in a zone, and note anything to fix.
What to Do If a Tree Gets Damaged Mid-Project
If a tree gets damaged mid-project, stop and deal with it that day. Don't wait until the job wraps. A scraped trunk or a severed root is easier to manage right away.
First: Stop and Secure the Area
- Stop work near the tree and flag it off so no machine comes back through.
- Note what happened, where, and which tree.
- Tell the crew lead and the property owner before any more work happens in that spot.
- Photograph the damage from a few angles, including the protection line if it was crossed.
- Get a qualified arborist out to assess the damage.
Other than painting oak wounds, do not try to fix the tree yourself. Do not cut or fill anything. An arborist decides what the tree can survive.
Match the Response to the Damage
Exposed or severed roots. Roots left open to air and sun dry out fast. Keep all traffic off them and have the arborist look at them right away.
Bark wounds. A scraped or gouged trunk is an open wound. If it's an oak, paint the wound right away. Texas A&M Forest Service recommends painting oak wounds at any time of year to help prevent oak wilt. Then let the arborist assess the depth.
Soil compaction. This is the damage you cannot see. Keep all traffic off that ground and tell the arborist where the machine crossed.
Document It and Follow Up
Keep a short log for any damaged tree: the date of the damage, what happened, what was done, and who was notified. Walk the keepers at the end of the project and check them again later.
Get a Free Quote Today
Protecting heritage trees during clearing isn't complicated. Mark the keepers, fence the root zones, keep equipment on the lanes, and check the line every day.
If you want a crew that works around your trees instead of through them, we can help. An owner walks the property before any contract is signed, so every keeper is in the plan.
Click "Get a Free Quote Today," then submit your project details first and a few photos second. We typically reply within minutes.
Frequently Asked Questions
How far should clearing equipment stay from a heritage tree?
Equipment stays outside a tree protection zone that extends past the canopy edge. The root system reaches well beyond the trunk, often farther than the branches overhead. Mark the zone with fencing before the crew arrives, and treat it as off limits to track loaders, trucks, and material storage. On rocky Hill Country ground the roots spread wider than you expect, so give the zone room rather than trimming it tight to the drip line.
How do you protect existing trees during clearing?
Walk the property first and flag every tree you want to keep. Fence a tree protection zone around each one, route equipment and traffic outside it, and keep soil, rock, and cut brush out of the zone. Selective clearing around trees lets us remove cedar and brush while leaving the oaks and other keepers untouched. We work around the trees you mark. We avoid wounding or pruning oaks February through June and schedule oak-adjacent work with that in mind.
What should you do before clearing land near a heritage tree?
Mark the tree, set the protection zone, and have one of our owners walk the property before a contract is signed so the plan accounts for it. Then confirm the zone and access routes with the crew on the day work begins.
How can you prevent soil compaction around mature trees?
Keep equipment, vehicles, and material storage out of the tree protection zone. Soil compaction happens when weight rolls over the root area. Fencing is the simplest control: if the machine cannot get in, it cannot compact the soil. Route access lanes and turnarounds away from the canopy edge, and do not park trailers or stage brush inside the zone.
We clear the cedar and brush and leave your keepers standing.